How Paper House Models Can Be Constructed Using Cardboard To Add Realism To Your HO Scale, OO Gauge or N Scale Railroad Layout.
-
Sale!
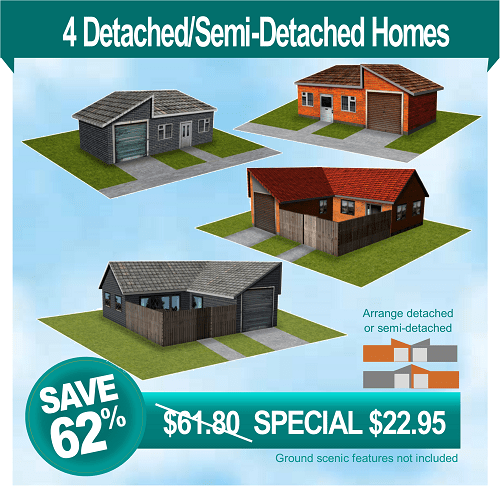
4 semi detached scale model houses to build
Original price was: $61.80.$22.95Current price is: $22.95. -
Sale!
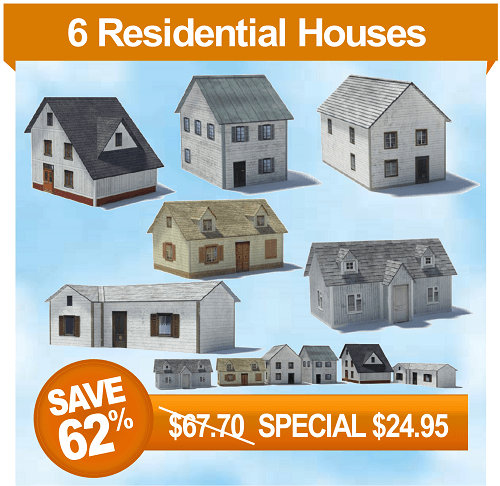
6 House Designs Pack Deal
Original price was: $67.70.$24.95Current price is: $24.95. -
Sale!
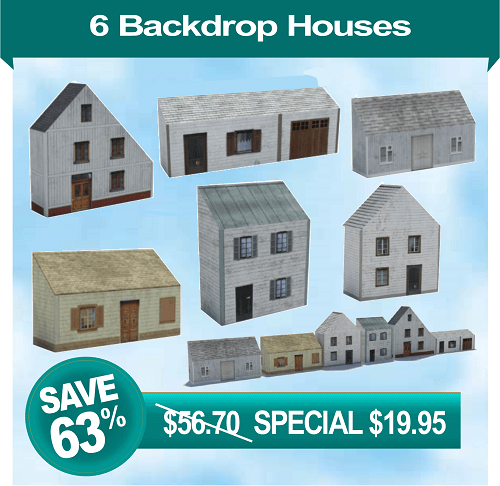
6 Low Relief Houses Pack Deal
Original price was: $56.70.$19.95Current price is: $19.95. -
Sale!
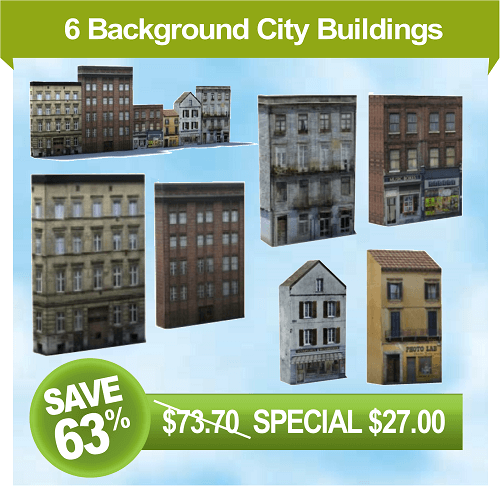
Background City Structures Pack Deal
Original price was: $73.70.$27.00Current price is: $27.00. -
Sale!
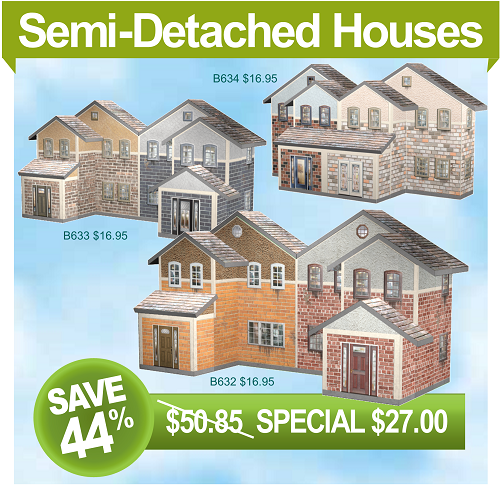
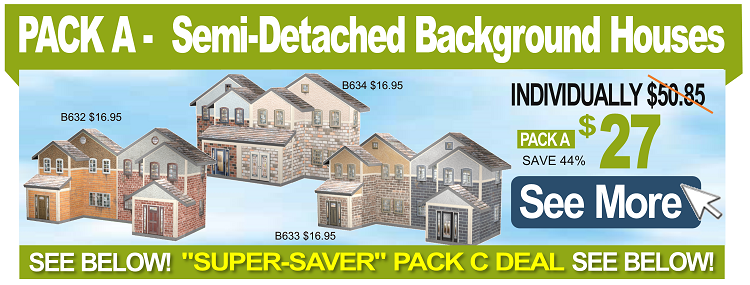
Brick Model Houses Pack Deal A
Original price was: $50.85.$27.00Current price is: $27.00. -
Sale!
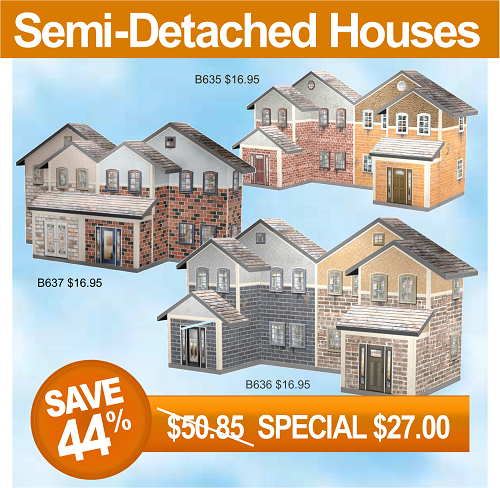
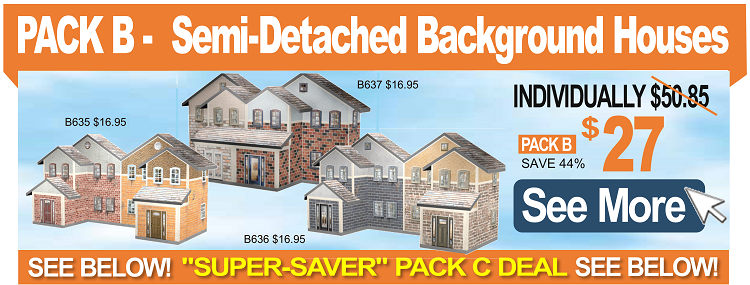
Brick Model Houses Pack Deal-B
Original price was: $50.85.$27.00Current price is: $27.00. -
Sale!
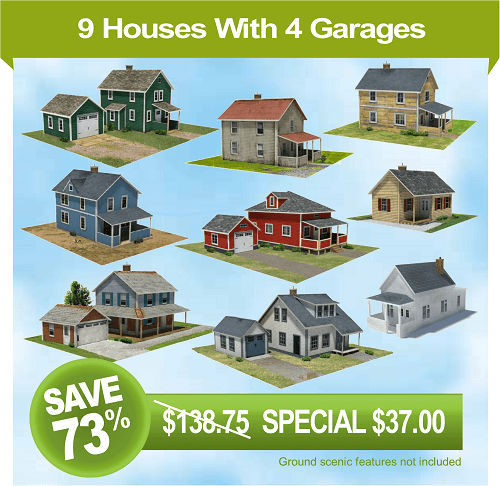
Garages Pack Deal
Original price was: $138.75.$37.00Current price is: $37.00. -
Sale!
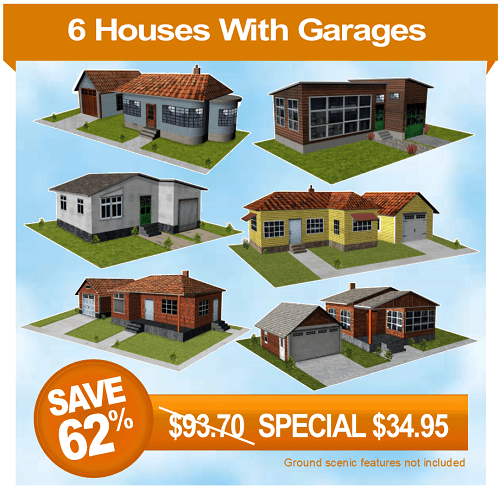
House Series #1
Original price was: $93.70.$34.95Current price is: $34.95. -
Sale!
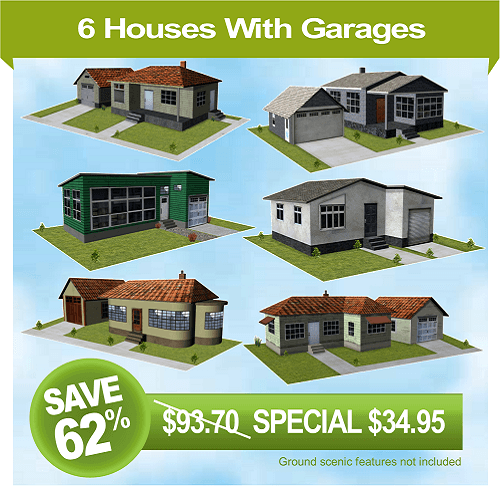
House Series #2
Original price was: $93.70.$34.95Current price is: $34.95. -
Sale!
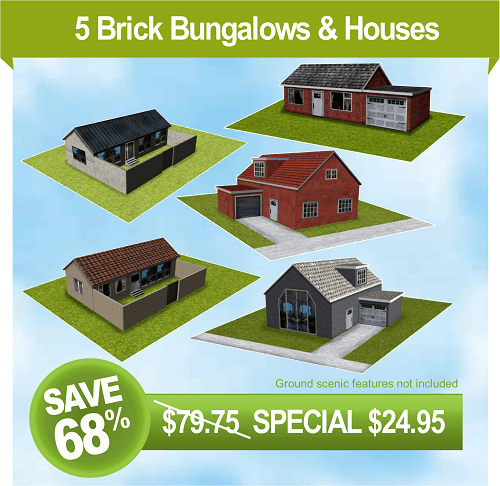
How to build a model house out of cardboard
Original price was: $79.75.$24.95Current price is: $24.95. -
Sale!
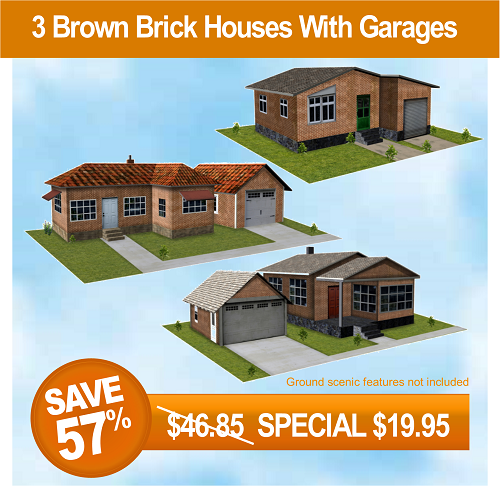
OO n HO scale miniature houses
Original price was: $46.85.$19.95Current price is: $19.95. -
Sale!
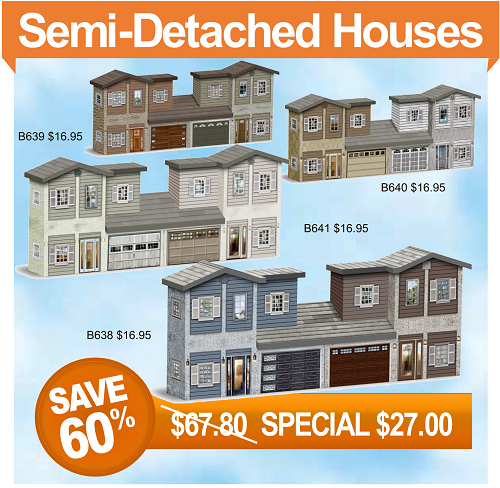
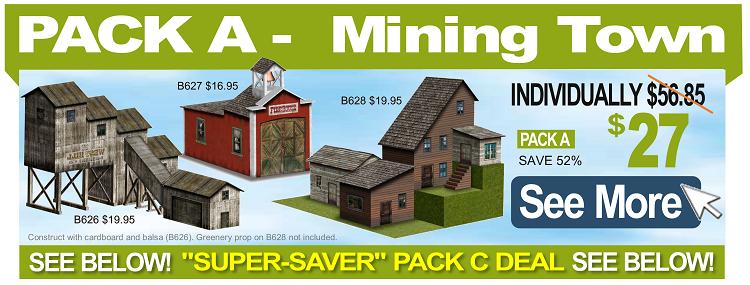
Pack A Background Scale House Models
Original price was: $67.80.$27.00Current price is: $27.00. -
Sale!
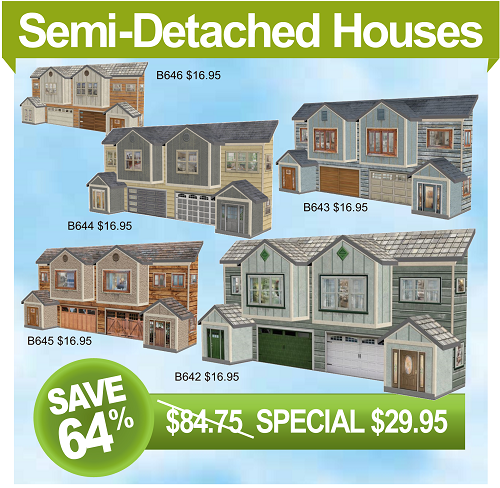
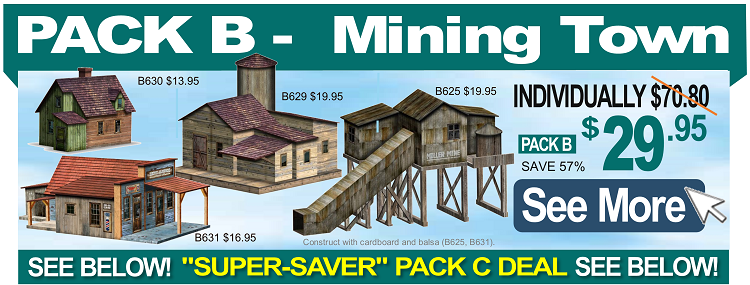
Pack B Background Scale House Models
Original price was: $84.75.$29.95Current price is: $29.95. -
Sale!

Scale Model Houses Duplex Semi Detached Models
Original price was: $101.70.$37.00Current price is: $37.00. -
Sale!
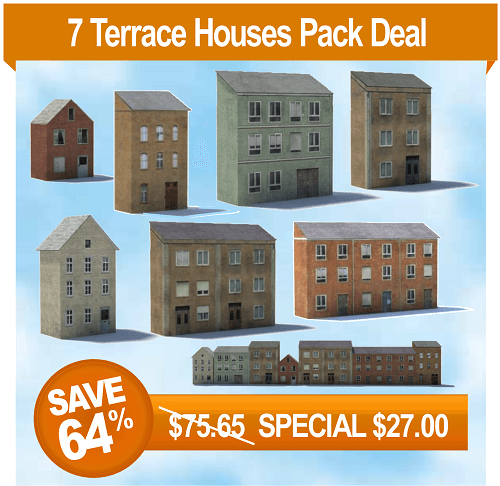
Terrace Houses Pack Deal
Original price was: $75.65.$27.00Current price is: $27.00. -
Sale!
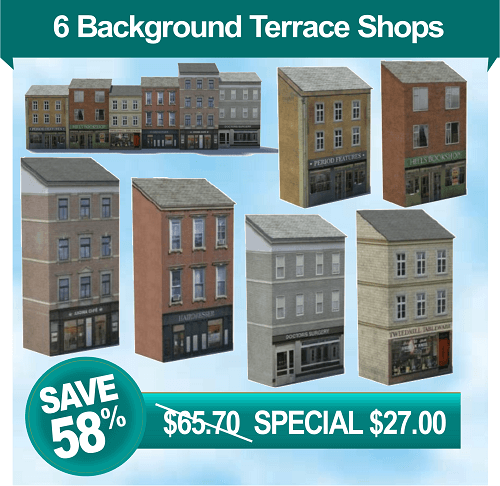
Terraced Shops Pack Deal
Original price was: $65.70.$27.00Current price is: $27.00.
-
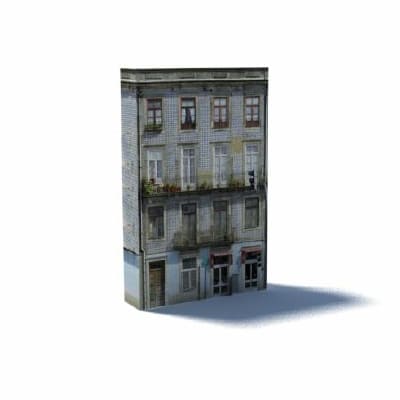
Background Building (gray, 4 level)
$12.95 -
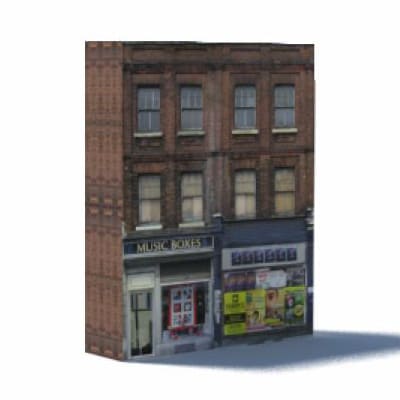
Background Building (red brick, 2 shops, 3 level)
$12.95 -
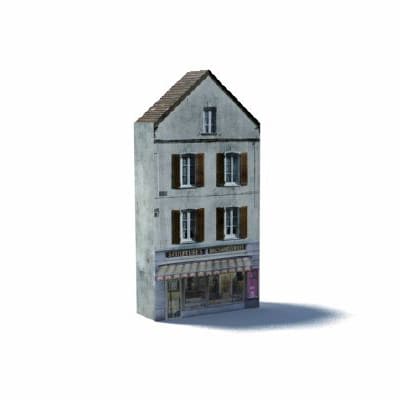
Background Building (white, peaked roof, shop)
$10.95 -
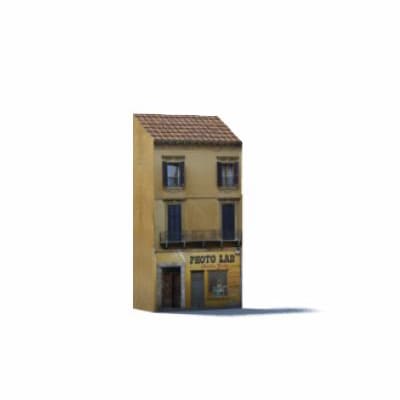
Background Building (yellow, shop, 3 level)
$10.95 -
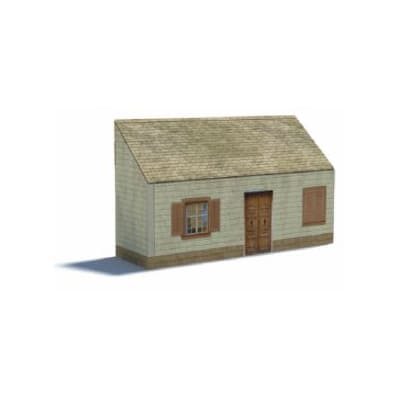
Background House (cream, 1 level, tan sloped roof)
$8.95 -
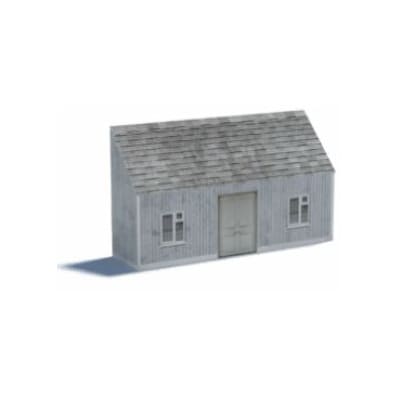
Background House (light gray, 1 level, gray tile roof)
$8.95 -
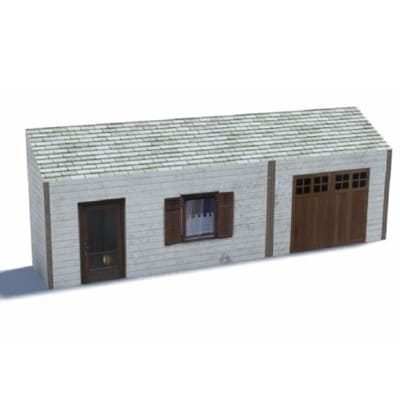
Background House (white, 1 level, 2 brown doors)
$8.95 -
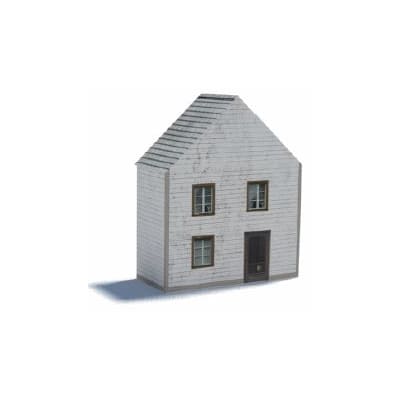
Background House (white, 2 level, 3 windows, peaked roof)
$9.95 -
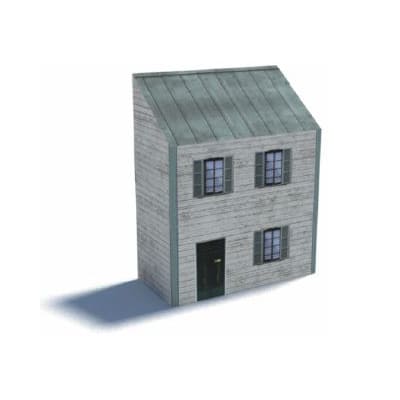
Background House (white, 2 level, sloped green roof)
$9.95 -
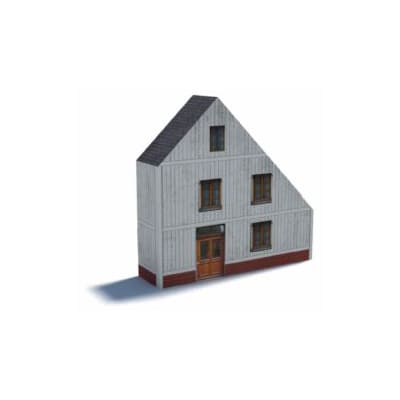
Background House (white, red base, 3 level, peak roof)
$9.95 -
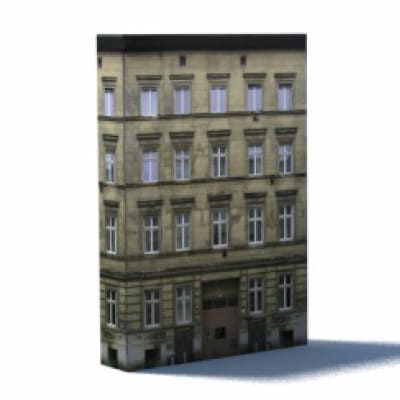
Background Office Building (cream, 4 level)
$12.95 -
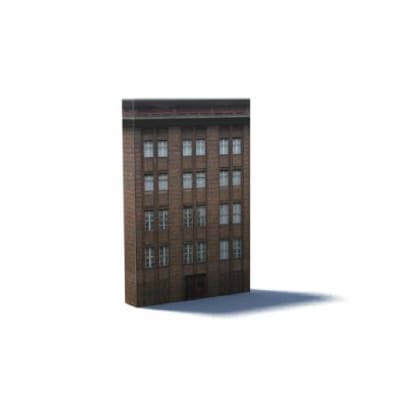
Background Office Building (red brick, 4 level)
$12.95 -
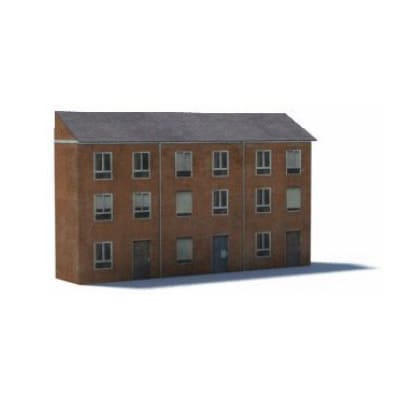
Background Terrace House (brown brick, 15 windows, gray sloped roof)
$12.95 -
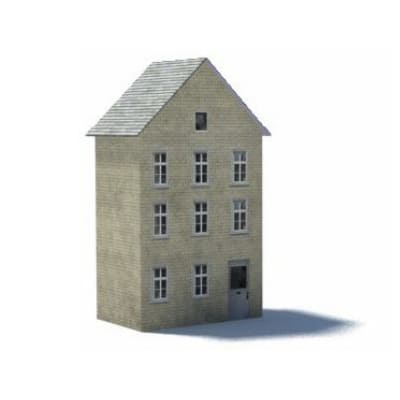
Background Terrace House (cream, 4 level, peaked roof)
$9.95 -
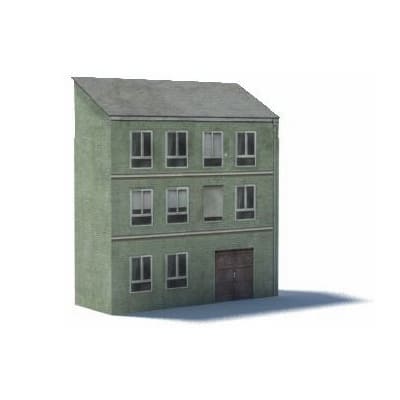
Background Terrace House (green, 3 level, gray sloped roof)
$10.95 -
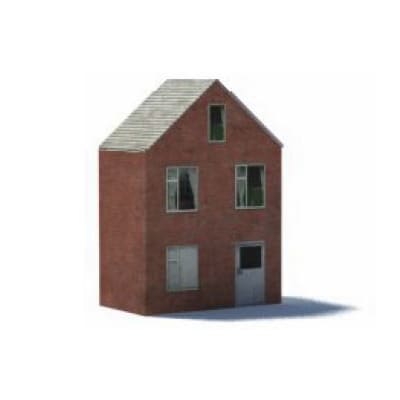
Background Terrace House (red brick, 3 level, 4 windows, peaked roof)
$9.95 -
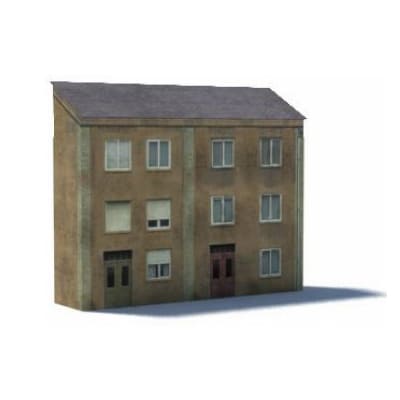
Background Terrace House (tan, 3 level, 10 windows, gray sloped roof)
$11.95 -
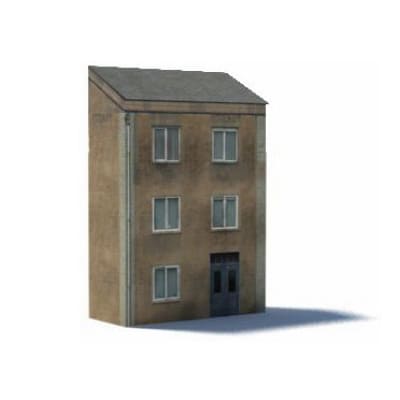
Background Terrace House (tan, 3 level, 5 windows, gray sloped roof)
$9.95 -
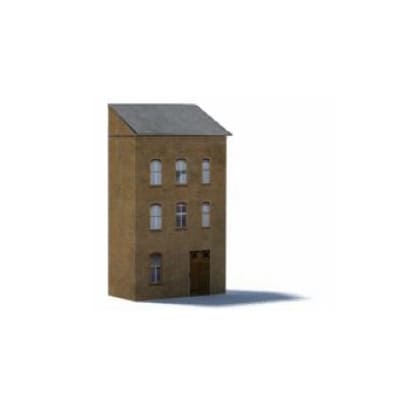
Background Terrace House (tan, 6 windows, gray sloped roof)
$9.95 -
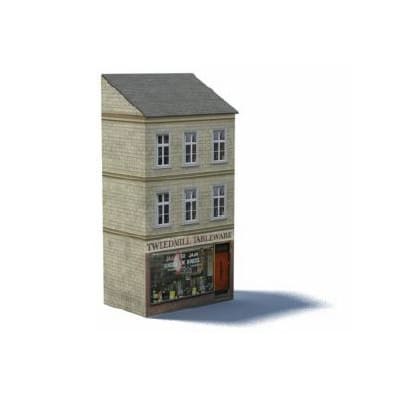
Background Terrace Shop (cream, 6 windows, 3 levels)
$10.95 -
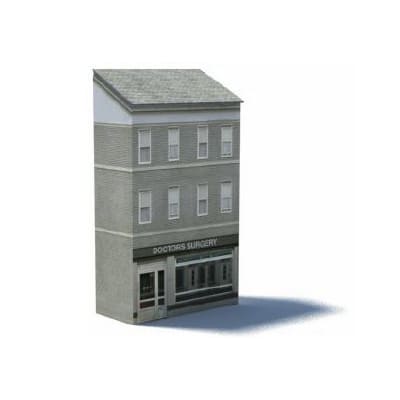
Background Terrace Shop (greeny/gray, 8 windows, 3 levels)
$11.95 -
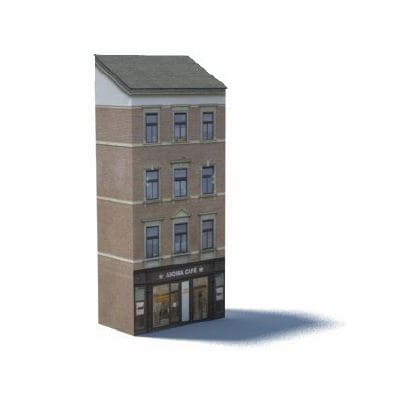
Background Terrace Shop (light brown, 9 windows, 4 levels)
$11.95 -
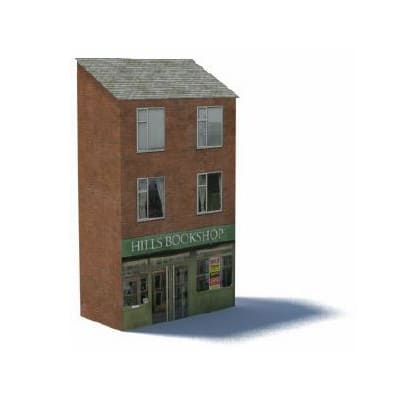
Background Terrace Shop (red brick, 4 windows, 3 levels)
$9.95 -
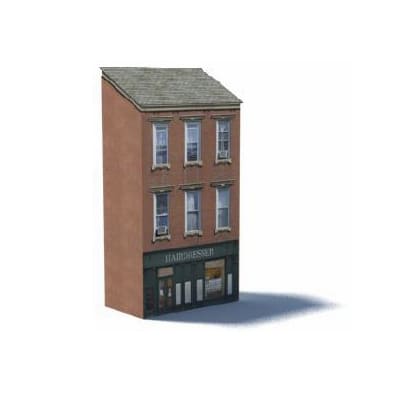
Background Terrace Shop (red brick, 6 windows, 3 levels)
$10.95 -
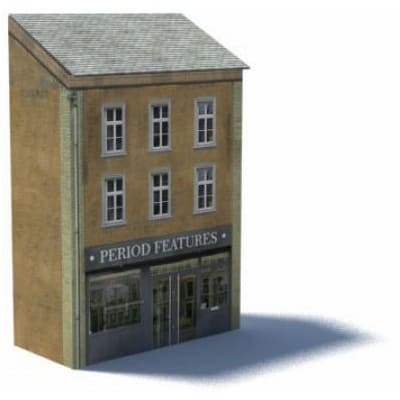
Background Terrace Shop (tan, 6 windows, 3 levels)
$9.95 -
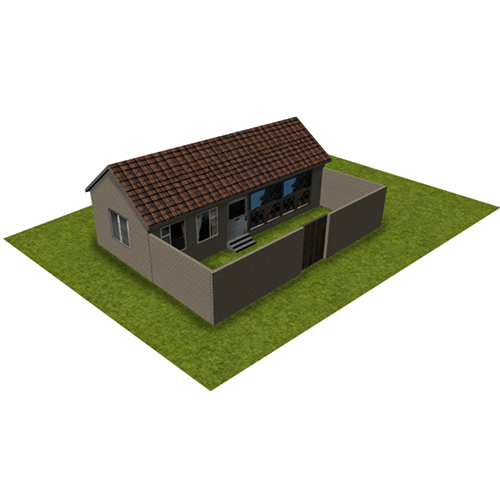
Fawn Brick House with fence
$15.95 -
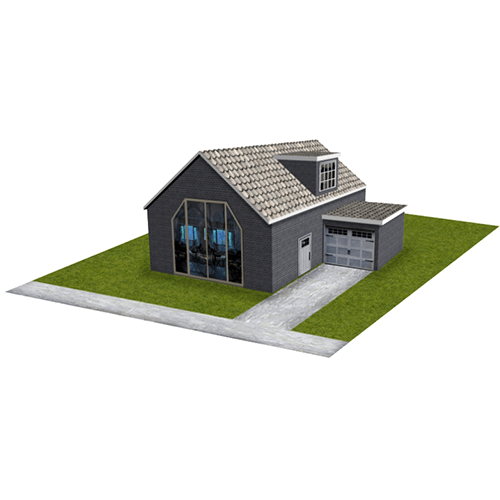
Gray Brick Bungalow with large windows and garage
$15.95 -
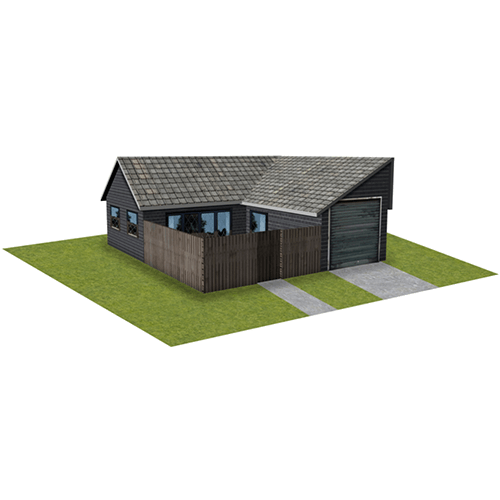
Gray Brick House with fence
$15.95 -
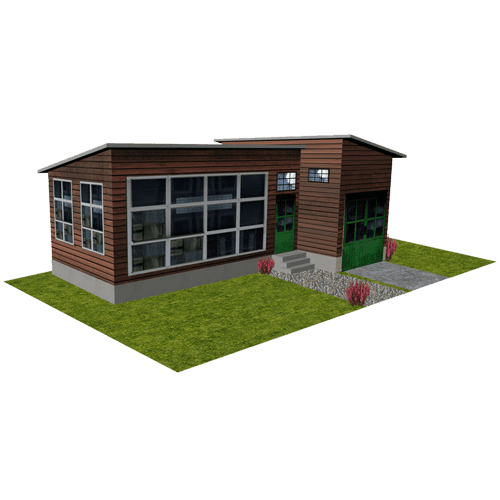
House – Brown Wood
$14.95 -
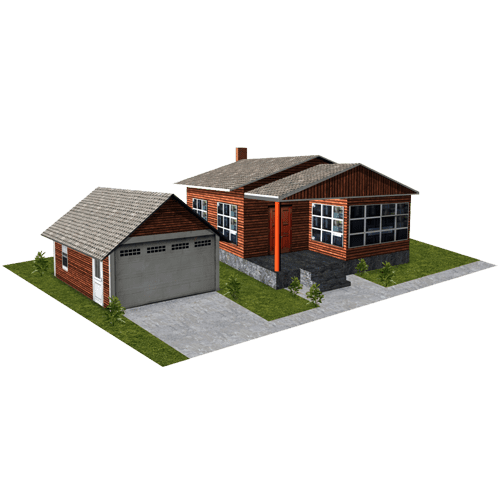
House – Brown Wood with Garage
$15.95 -
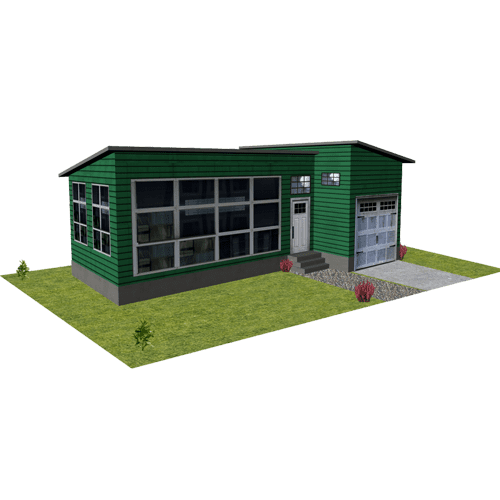
House – Dark Green Wood
$14.95 -

House – Gray Brick with Garage
$15.95 -
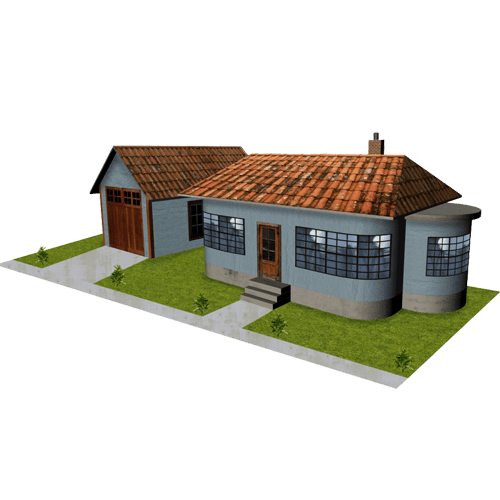
House – Gray Stucco with Garage
$15.95 -
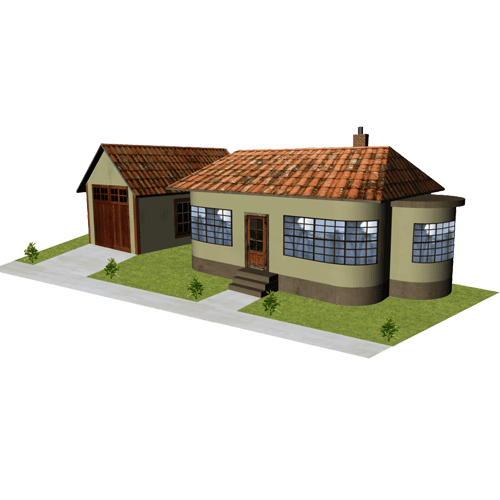
House – Green Stucco with Garage
$15.95 -
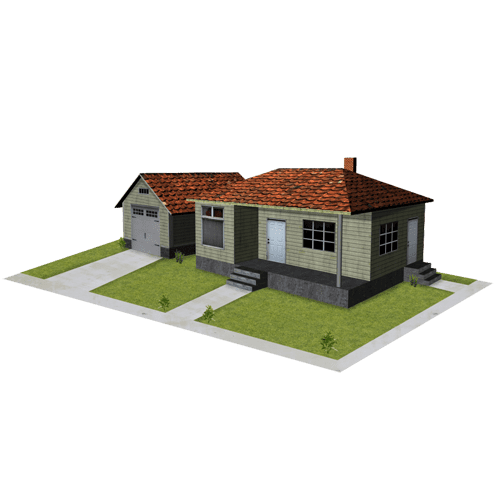
House – Light Gray Wood with Garage
$15.95 -
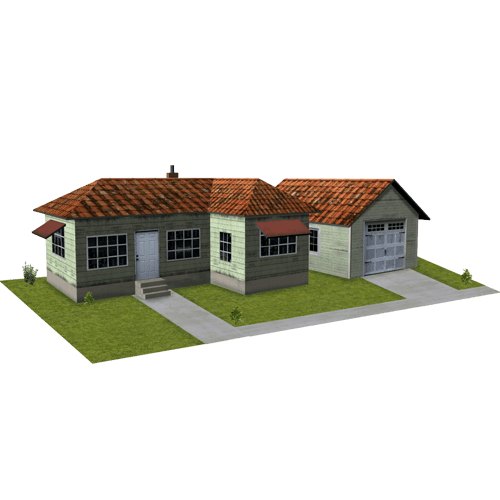
House – Light Green Wood with Garage
$15.95 -
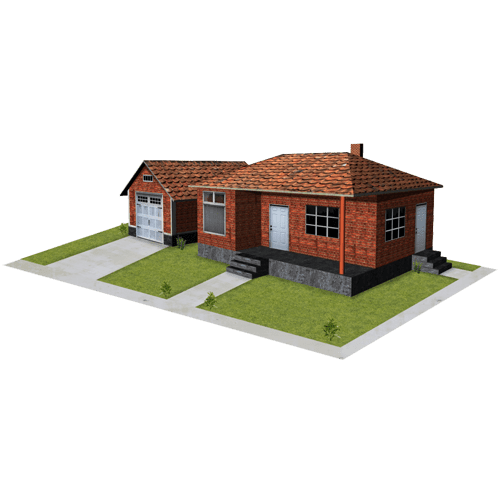
House – Red Brick with Garage
$15.95 -
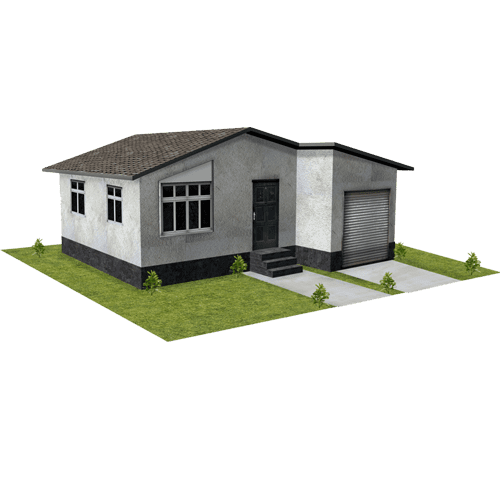
House – White Stucco
$14.95 -
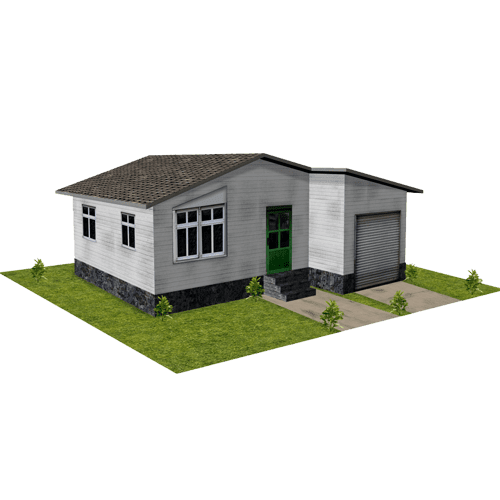
House – White Wood
$14.95 -
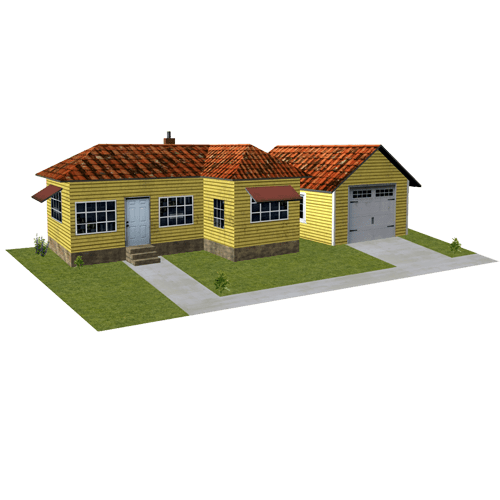
House – Yellow Wood with Garage
$15.95 -
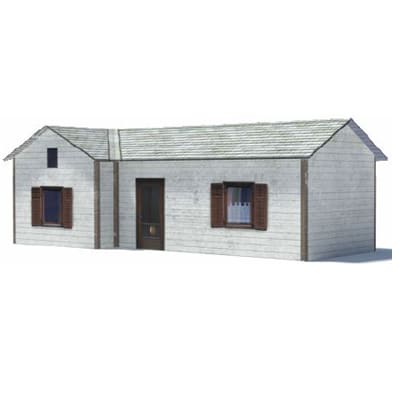
House (1 level brown shutters)
$10.95 -
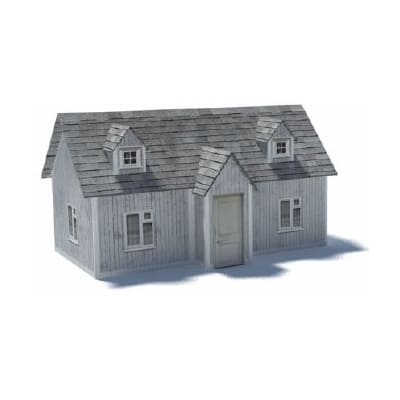
House (1 level gray roof)
$10.95 -
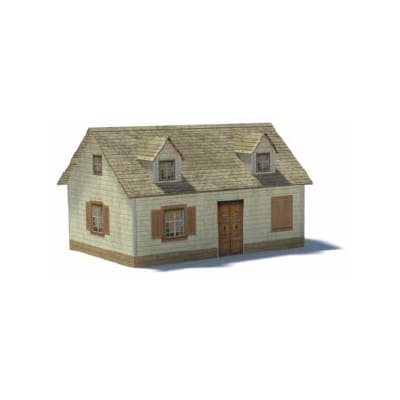
House (1 level yellowy)
$10.95 -
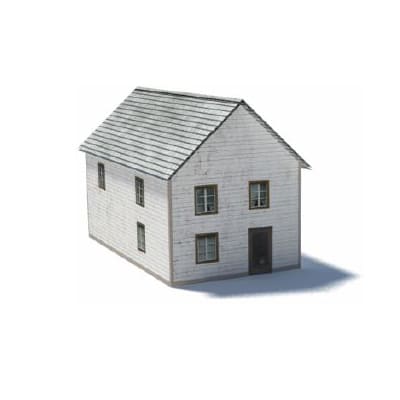
House (2 level 3 side windows)
$10.95 -
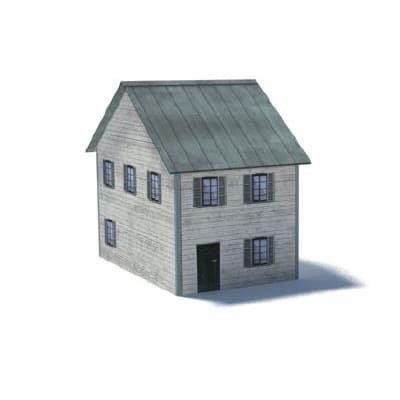
House (2 level 4 side windows green roof)
$10.95 -
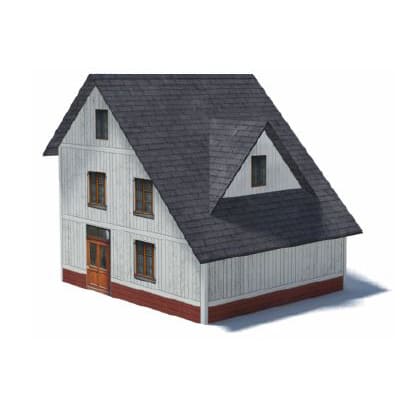
House (3 level long dark gray sloped roof)
$12.95 -
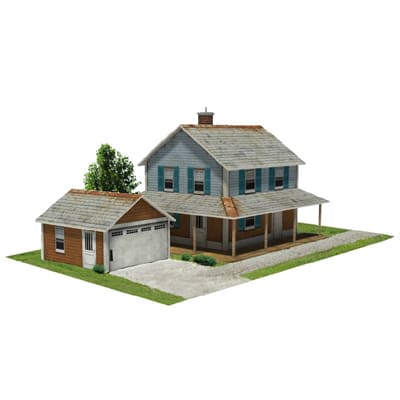
House (blue top, brown base, with garage)
$17.00 -
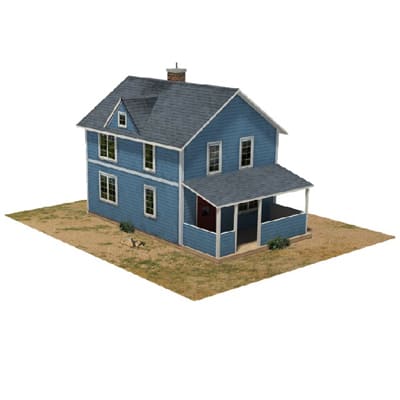
House (blue, 2 level)
$14.95 -
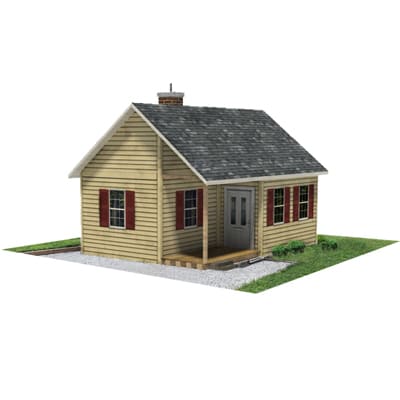
House (cream, brown shutter, 1 level)
$12.95 -
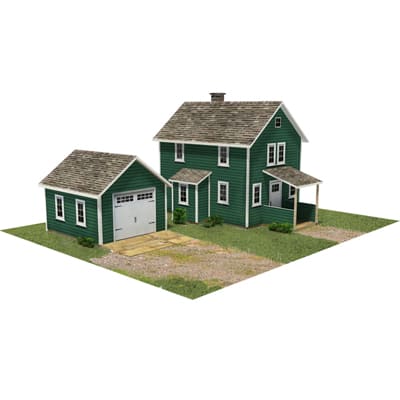
House (green, 2 level, with garage)
$17.00 -
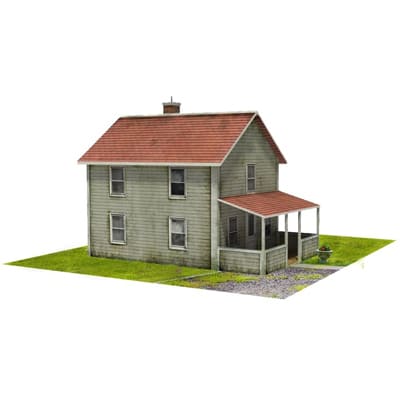
House (red roof, 2 level, with veranda)
$14.95 -
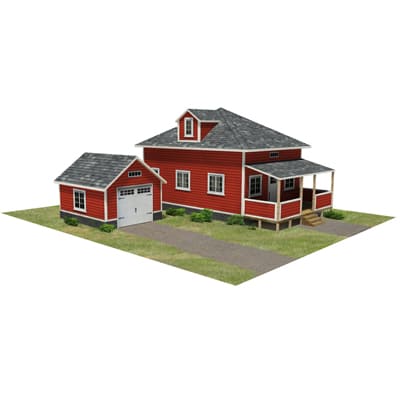
House (red, with garage)
$17.00 -
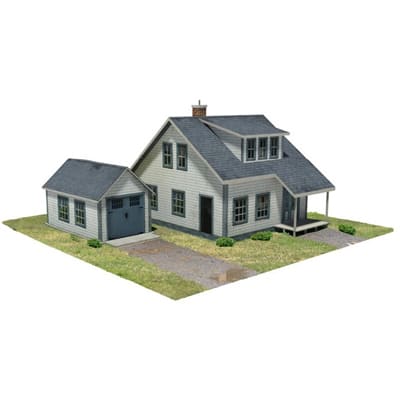
House (white, 2 level, with garage)
$17.00 -
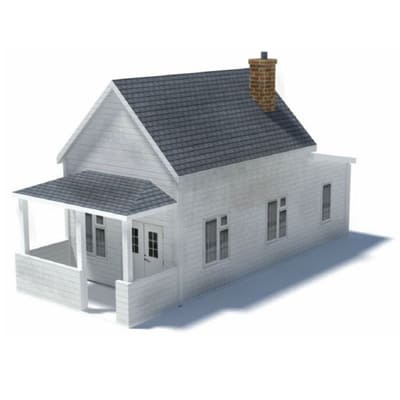
House (white/gray)
$12.95 -
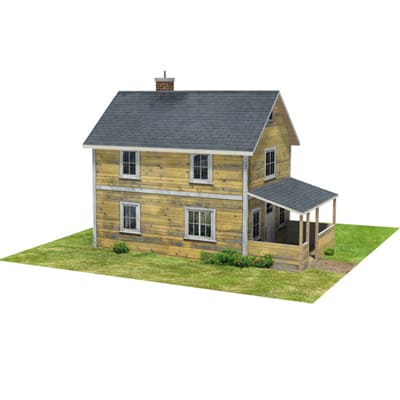
House (yellow, 2 level, with veranda)
$14.95 -
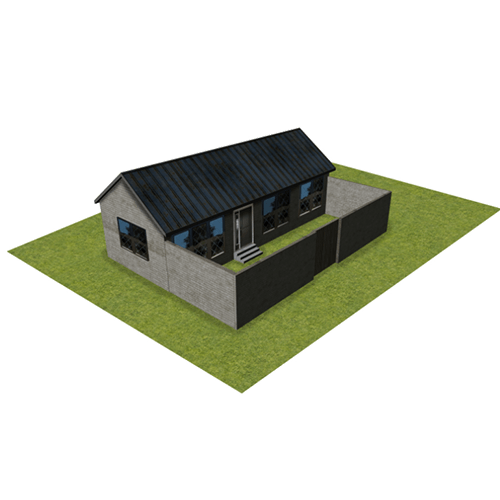
Light Gray Brick House with fence
$15.95 -
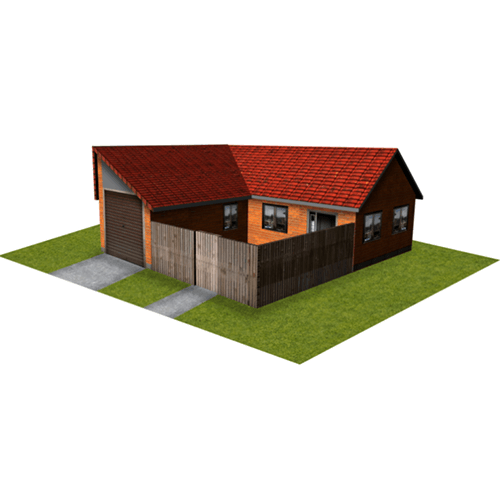
Orange Brick House with fence
$15.95 -
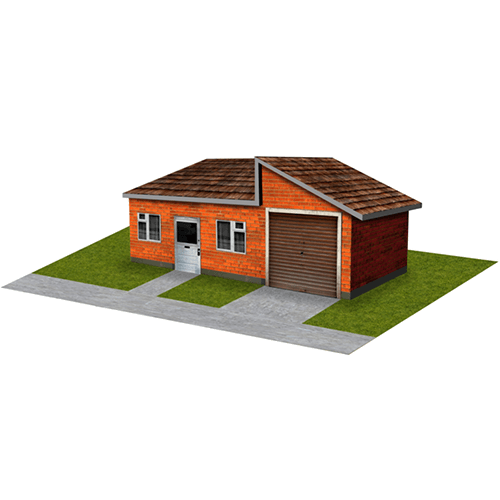
Orange Brick House with garage
$14.95 -
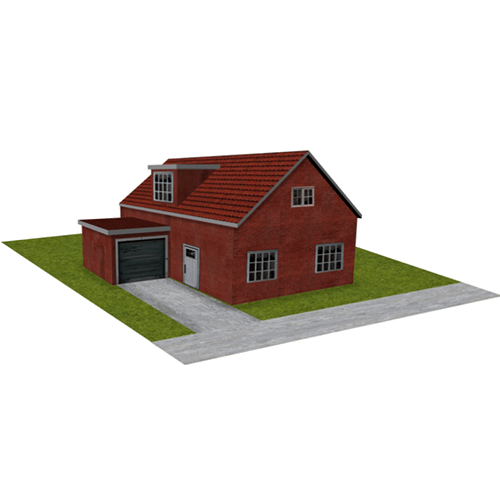
Red Brick Bungalow with large windows and garage
$15.95 -

Red Brick House with garage
$15.95
Natural scenery is a lot of fun to create and easy to do well. It really is the prime scene-setter on any scale model railroad layout, but let’s not forget the real purpose for the railroad’s existence. It has to serve an industry or residential community of some kind, and that means that commercial buildings, warehouse and industrial structures, homes, houses and shops should be a pivotal element of your layout.
[expander_maker id=”1″ more=”Load more” less=”Load less”]
Deciding What and Where to Build
Just throwing pre-built plastic model buildings of houses or random structures out on the layout willy-nilly isn’t an effective design technique. Structures are created in real life to serve a need for shelter of some kind. If you want to include a residential street scene lined with houses, then scratchbuilding homes from downloadable printable paper model house building kits is a sensible and cost-effective option.
On the layout (regardless of whether it an OO gauge, N scale, or HO scale model railroad), the structures (be they houses or homes, commercial buildings etc) need to suggest the presence of humans and animals in the context of the railroad scene. After all, the scaled down replica scene needs to look as real as possible and not look like a ghost town where the inhabitants have been wiped out by a plague.
While the placements of residential houses and buildings in real life depends on a number of factors, the most common reasons for a certain locality are a reasonable price for the location, convenient access to road or street, and/or rail transportation, and proximity to natural resources if you a planning a farm layout, or perhaps a mining town, or even a port.
Unlike in real life, when designing a model railroad, we have complete control over the arrangement of model house building kits and other structures on the layout so the economic factor doesn’t play a part. So you can set the stage so that the model house building kits and other downloaded paper or cardstock structures on the layout look as though they belong in the place you put them.
When you plan your HO scale or N scale layout to include a town or city with residential streets, take a drive around your own town and see if you can determine what factors influence structure placement including industrial buildings, houses and homes. For example, does a sawmill dropped in the middle of a farm field make sense, or is it more logical to place the mill on the bank of a river? Would a grain elevator be erected in the center of an industrial production plant, or best built next to the tracks in a rural setting? Would it make sense to place your constructed cardstock paper model house building kits right next to a railway line, or would it be better to position the homes and houses a safer distance away from the train tracks.
Is Bigger Better?
Also important is a sense of proportion. Large industrial areas such as refineries and steel mills are most often found near larger cities. Creating a large manufacturing plant with just a small surrounding residential community might look odd unless the scene includes some hints of a larger city or town nearby, such as a background with an urban skyline. Sometimes a small neighborhood to house the workers and their families can make sense nearby a small industry. The key is to think carefully about the positioning of any structures and paper model house building kits and why they are placed where they are.
Perspective is an important element of structure placement. Buildings near the front of the layout should be at scale and as detailed as your skills and desire allow. Structures farther back on the layout may be smaller than scale to force a perspective of greater distance. Because they are not near the viewer, they can be less detailed and still be realistic. This is where downloadable paper model house building kits really come into their own. Unlike scale model plastic kits, downloadable house building kits can be easily scaled to suit the size that would look best based on whether the houses kits are going to be positioned in the foreground or towards the back of the layout against the backdrop scenery. After downing the plans for the model house building kits, it is easy to print them out on paper to either OO gauge size, HO scale, or N scale depending on which scale you purchased. If you purchased the OO scale plans then they can be easily printed out to 87% of the size to more closely resemble HO scale. If you bought N scale downloads of the model building house kits then you just print the downloaded PDF plans the same size to replicate N scale. Reducing the plans to a smaller size is very easy if you want to make the scale model houses look smaller and further in the distance. That is something you just can’t do with plastic model kits. The other advantage is that you can print out multiple paper copies of the downloaded model house building kits and construct duplicate structures without paying for extra kits.
Textures, Colors, Weathering, Adhesives, And Other Model Train Stuff
Colors and textures are key parts to a HO scale, OO gauge, or N scale model railroad layout. Realism is about simulating the textures and colors of the objects and things surrounding you in the real world. When you look through the catalog of downloadable model building houses kits, you’ll see that many of the homes come with garages included and there is a range of colors and textures including brick, wood and stucco. Roofs vary between tiles and iron, and windows are generally wood framed with some having aluminium frames. Doors are generally wooden, although some have glass and are in various state of condition added to the realistic-looking weathered feel.
Colors bring a residential street layout to life
If you are not so good at mixing colors, you can buy a Color Wheel (available from an art supply shop or online from Amazon). It could help guide you with tinting paints, achieving the right hues, tones and color relationships. Keep it in a box with your other model train stuff. However the advantage of paper model house building kits is that the homes and garages are already pre-weathered, so no real weathering is required apart from possibly touching up the edges of the constructed homes with a dab of acrylic paint, a pencil, or even just using a felt pen.
When painting scenery or buildings it’s generally best to use acrylic paints (available from art and hobby shops or model train stores). Water based acrylic paints can be easily thinned to a consistency you will find easy to work with. With acrylics the brushes (or airbrush) are easier to clean by using plain tap water, as opposed to solvents like mineral turpentine.
A common technique is to add color to different textures using different patterns or brush strokes. This can look extremely authentic and can make the object appear as if it has been through plenty of “real world” weathering. Balsa wood is the perfect material to use for constructing posts and decks for model building house kits. It is sometime easiest to simply paint the balsa wood rather than try and glue textured paper onto the balsa.
Additionally, colors should be used with natural appearances in mind. The focus should be on grays, greens, and browns for the most part, although white paint can be used in winter scenes. White paint is also one of several colors to use when toning down colors or mixing lighter shades. Also consider the type of material or surface being covered by the paint as some solvents eat into plastic and foam.
Textures and uneven surfaces
Scenery textures will give the HO scale or N scale railroad setting a natural look. You won’t want everything to be perfectly smooth. Rough surfaces are commonplace in everyday life, so include textures on your homes, buildings and scenery. If you do an online search of model railroad scenery supplies or artist supplies, you’ll come across various art products for adding textures to surfaces including texture pastes.
As well as incorporating rough surfaces your scenery will want to include gradients, valleys, hills, mounds etc. rather than having a perfectly flat layout (unless perhaps it is a classification yard, or residential street scene).
When first constructing an N scale, OO, or HO scale layout, it is common to lay the train tracks on a flat board or bench to give the trains a smooth even surface on which to operate without problems. Keeping the track as level and even as possible will keep your derailments and maintenance issues to a minimum. Real railroads do this when creating a right of way and you should too.
However, for parts of your HO or N scale railroad layout not directly under the tracks choose to go a little uneven to achieve a more natural look. This might involve creating small mounds or hills around the surface. Be sure that any changes from one elevation to the next level are gradual unless you particularly want a steep gradient or cliff face. Even a residential street scene can be undulating to a degree. You can position your paper model house building kits with garages on a slightly rising surface, or maybe just have the backyard of a property slightly uneven. Anything that resembles a life like scene adds to the authenticity of the modeled scene.
Mountain features can also be added to scale model railroads. The best part of adding a mountain on the railroad layout is that the mountain doesn’t need to be absolutely perfect and symmetrical. In reality it will look best if it is irregular shape. Even picturesque mountains like Mount Fuji in Japan, or Mount Taranaki (Egmont) in New Zealand are not perfectly symmetrical despite appearing that way at first glance. It is easy to add a few jagged cliffs or edges to your mountains to give them the appearance of realism.
Weathering and more model train stuff to bring your railroad scene and paper house model kits to life
Closely related to the topic of textures and colors is the broad subject of realistic weathering. When you purchase a shiny new automobile and drive it around for a few weeks in a region that gets any amount of precipitation, it will start to get dirty. In other words, your car is getting weathered. Any object left outside in the elements will become naturally weathered after a reasonably short time, and over time the new shine and colors will become faded and be dulled. Residential homes and other structures are another good example. After construction, homes in the real world will be exposed to strong UV rays from the sun, as well as wind and rain. Moss and mold might start to form on parts of the homes exterior, crack might appear over time, and paintwork might start to flake. Fortunately the downloadable plans for the model house building kits on this website are already weathered so the cardstock models don’t look artificial or plastic.
When constructing your railroad scenery be aware that colors containing red pigments can be particularly susceptible to fading. If you are the owner of a car or house you can certainly spend time on maintenance by washing your car or home down, or applying a new coat of paint when needed. The thing to remember when weathering an HO scale model railroad is that different objects will weather in different ways. This provides the opportunity to try something out and then change it if the look isn’t quite right.
Weathering is a technique worth learning as it can stop layout scenery, structures, homes, and trains from looking artificial or like they were just purchased from the model train store. However, to do weathering well you will need some artist model train supplies such as weathering chalks or powders, India Ink, and some acylic paints, and possibly some colored inks and other stuff. Without the right equipment and tools the task will be more difficult and the results probably not as good. Have fun creating your scenery features and controling your trains.
[/expander_maker]

